QNOPY for WSP
Guide to QNOPY Video
Steps to QNOPY Success
Get Started

1. Download the App
Download QNOPY from the app store (it's free!)

2. Log In
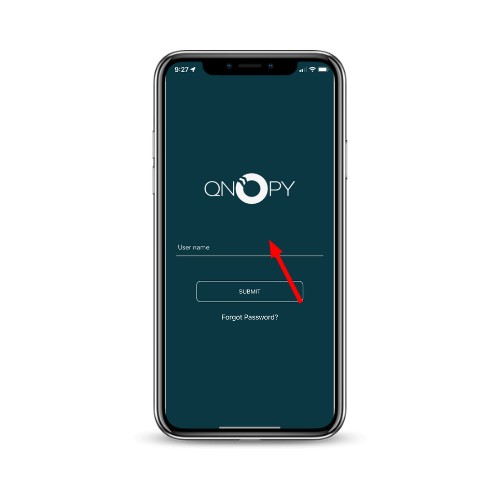
Log in using your work email address. The page will prompt you to then sign in using your password.
View Demo Data

1. Click on "Demo Project Only"
You'll see two projects upon logging in: your personal project (your name's project), and a demo project. To get started, click on "demo project only".

2. Click on the form you want to view
Events to continue with and the option to start a new event will appear under the demo project. Click whatever form you want to see under the "continue with" option.

3. View Form + Take Pictures
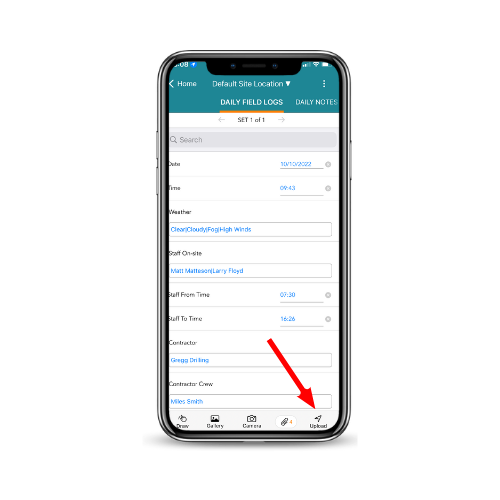
And just like that you're in the form! All fields have example data already entered. To access the camera, find it in the middle of the toolbar. Any photos you take will live in the attachments section to the right of the camera icon.

4. Upload your Data
To make sure the data and pictures you take get synced onto QNOPY, press the upload button in the bottom right corner frequently. Until you do so, all data will be stored on your device.

5. Go Back to Home
Press the "home" button on the top left to go back to the main screen.
Start a New Event

1. Select your form
Click on your personal project. Then, click whichever form you want to test out under the "start new event" option.

2. Hit "Start"
Hit the "start" button on the pop up to get into the form.

3. Enter your data
Now you're in your new event! Collect data and photos, remember to upload, and press the home button when you're ready to return to the main menu.
Other Important Buttons

1. Sync Button
The Sync button in the upper right corner ensures all your settings (forms, projects, data) are up to updated successfully, similar to the upload button. Press it upon opening and before closing the app.

2. Settings Page
Access the Settings Page in the bottom right corner of the toolbar. Go here if you need to find the help page, reach out to support, or have any other issues.

3. Contact Support
You can contact support after clicking onto the settings page. The button will call the first support agent who picks up; you can also email support@qnopy.com to send a support ticket.
